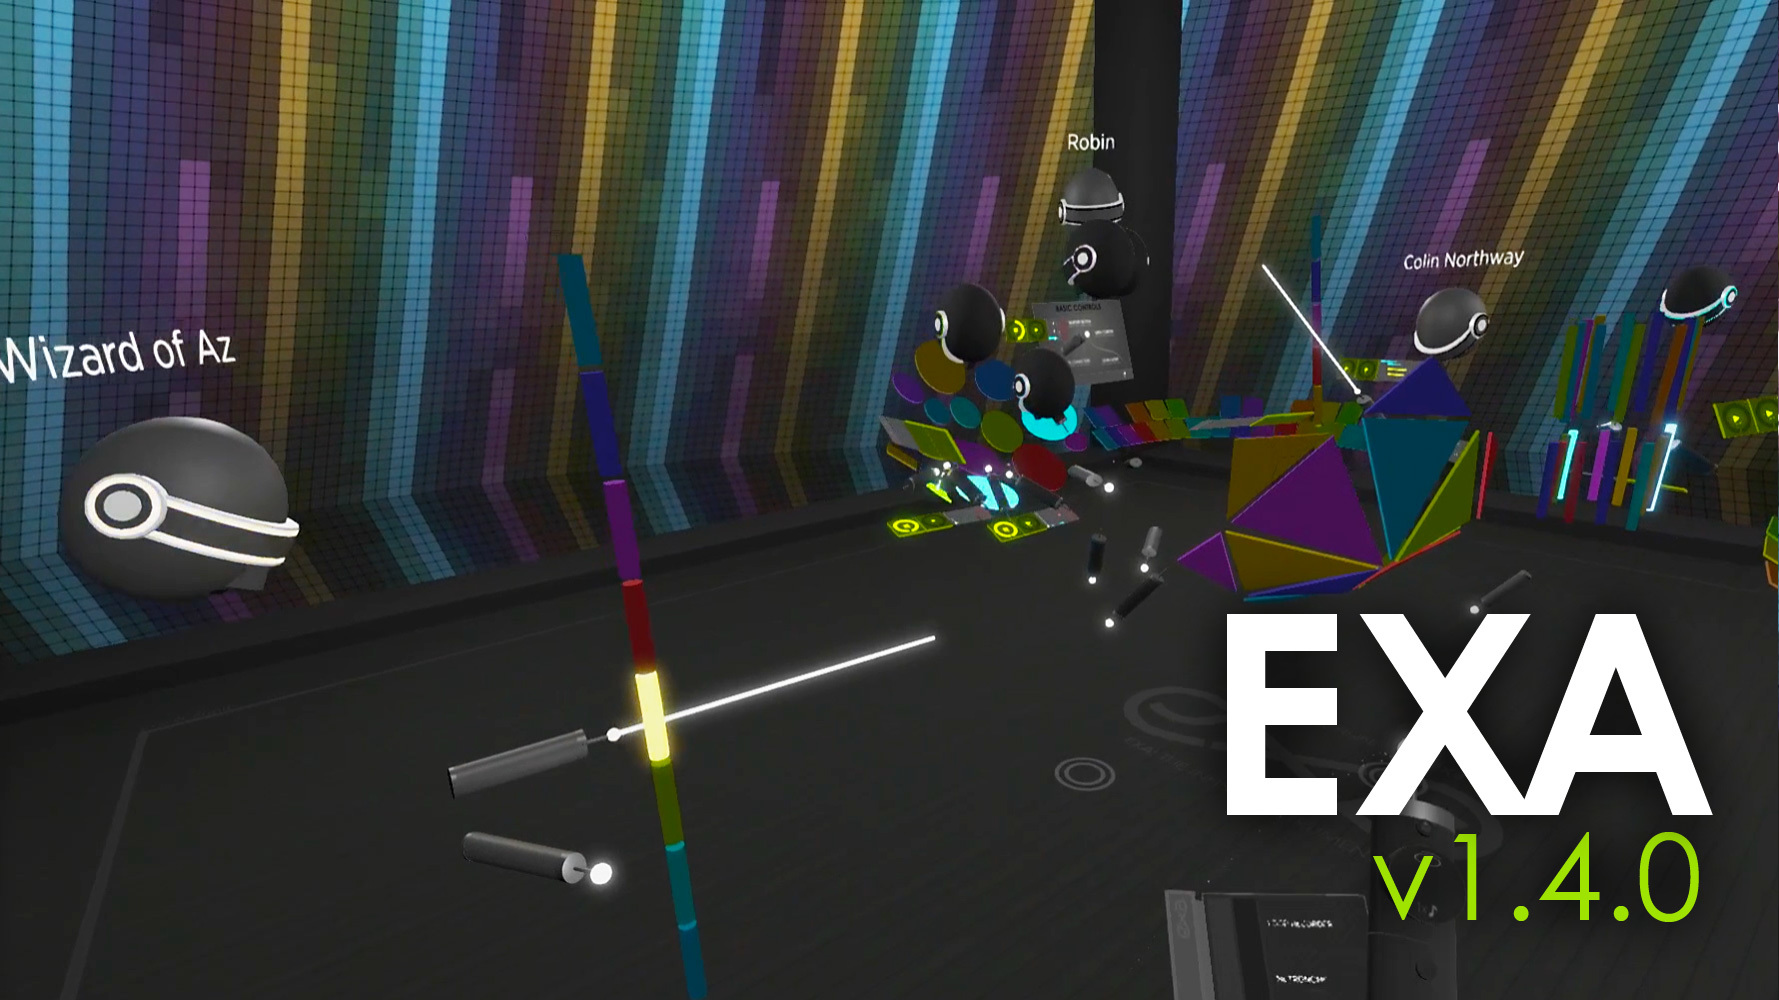
You can now play EXA with other players! Step into a shared layout where you can see other players, talk with them, build instruments together, share loops, compose songs, watch performances, and more. Each multiplayer “room” keeps everything synchronized (the layout, items, playback states, metronome, and live ringer events) for everyone that joins, allowing you to create and collaborate with players across the world.
EXA’s multiplayer rooms are hosted by the room’s creator (not by a server in the cloud). The room can be made available publicly, can be hidden until a player enters the room name, or can be limited to your local network (LAN). The room creator can even put players into a “spectator” mode by disabling some of their room permissions.
Network latency (the lag/delay in communication between computers) is an important factor in EXA’s multiplayer system. In ideal conditions, it should be possible to perform instruments in real-time with other players. Regardless of latency, it’s always possible to talk, to modify the shared layout together, and to collaborate by recording new loops (which automatically shares them with the room).
If you like to record or stream your EXA performances, the new Preview Panel is perfect for you. This panel provides several new camera modes (including “selfie” and other third-person views) and options (field of view, smoothing) that you can adjust within the app. These new cameras send their video output to your computer’s monitor, and the Preview Panel displays that same video feed. Now you can align your cameras, compose your shots, and monitor the final result – all in real-time, without leaving your headset.
Thank you to the EXA community for the feedback and ideas! And a special thank you to everyone who helped test these new multiplayer features! Please watch/share the new update video below, and read through this page to learn more.
DEV UPDATE VIDEO
https://www.youtube.com/watch?v=bdZsUZGuCeI
YouTube link
SHARE EXA POSTS

MULTIPLAYER (BETA)
- Multiplayer EXA allows you to experience shared layouts, called “rooms”, with other players. You can talk with each other, see where everyone is, and see what they’re doing. You can watch performances, build instruments, share loops, and construct songs together with everyone else in the virtual room.
- Multiplayer rooms can be made public, private, or even available within your local network (LAN). Public rooms are visible to everyone in EXA’s in-app room listing, private rooms are only visible upon entering the exact room name, and local rooms are only accessible to computers connected to your LAN.
- These new multiplayer features are being released as a “beta” version. A significant amount of testing has been done already, but it is likely that certain scenarios (related to network conditions, the timing of events, the state of the shared layout, etc.) could still lead to issues or failures.
- In ideal conditions, it should be possible for players to create live, real-time, “jam session” performances together – see the “Latency” section below for details – but this isn’t always possible. A more common multiplayer experience will likely include players recording and sharing loops with each other.
- In a multiplayer layout, almost everything (except for most menus) is shared. Everyone sees the same ringers, loops, sequencers, and so on. When someone moves an item, changes it, deletes it, or creates a brand new one, the action is quickly broadcasted to other players so that the shared layout stays in sync.
- The multiplayer layout is also synchronized in time – in most cases, everyone will match up within a few milliseconds. All events from metronomes, loops, sections, and sequencers are scheduled and performed using the “shared time” of the layout. Thus, even if you’re playing with people across the world, you’ll all be hearing (for example) a loop’s playback at the same time.
- Items in a shared multiplayer layout have no owner. Once a player records a new loop, for example, anyone can move, edit, clone, or even delete it. This is a powerful way to collaborate, but of course, it works best when everyone is respectful and considerate of the shared space.
- The creator (or host) of a multiplayer room can block individual players from speaking to the group and/or modifying the layout – see the “CREATE” section below for details. This is perfect for putting players into “spectator” mode, where they can watch you, but cannot affect your layout and performance.
- If you wish to create your own multiplayer room, EXA currently has a technical requirement called “port-forwarding” – see the “CREATE” section below for details. This involves a one-time settings change to your router, which allows your computer to receive room-joining requests from other players.

MULTIPLAYER: LATENCY
- As a musical app, where timing is important, your network latency (the time it takes to communicate with other computers -- lag, ping, etc.) is an important factor in the type of multiplayer experience you can achieve.
- In scenarios with low network latency (near-immediate communication – 20ms or less), it should be possible to perform instruments together in real-time… a virtual garage-band jam session. Under these conditions, ringer events can travel to other computers quickly enough for other players to hear the sounds in full. (EXA’s ringer-hit prediction, which mitigates local latency issues, also helps to mitigate the effects of network latency.)
- As network latency increases, real-time jamming becomes more difficult. The way EXA handles latency (multiplayer or not) is to schedule a note event in absolute time, then begin playing the note’s audio as soon as possible. If the note event is not received early enough, it leads to front-truncated sounds (i.e. you may not hear the first several milliseconds of the sound). In order to keep all sounds synchronized, this approach is preferable to playing a full-but-delayed sound.
- Thus, in higher-latency scenarios, the multiplayer experience is focused on the recording and sharing of loops (although, this will likely be the most common experience, regardless of latency). Once a player records a loop, it is sent to all other players. Loop playback is also synchronized across all players.
- Because loops are sent to other players and then play on each player’s own computer, network latency is not a factor for loop playback. This allows everyone to play along with the layout’s loops, recording and sharing their own loops as they go.
- All multiplayer communication passes through the computer of the room’s creator (which then broadcasts the information to the other players). Players who are geographically closer to the room creator will typically experience less network latency. In an example scenario where five players are in California and one is in France, it makes sense for a Californian to create the room, as this will likely cause less network latency for the majority of players.

MULTIPLAYER: JOIN
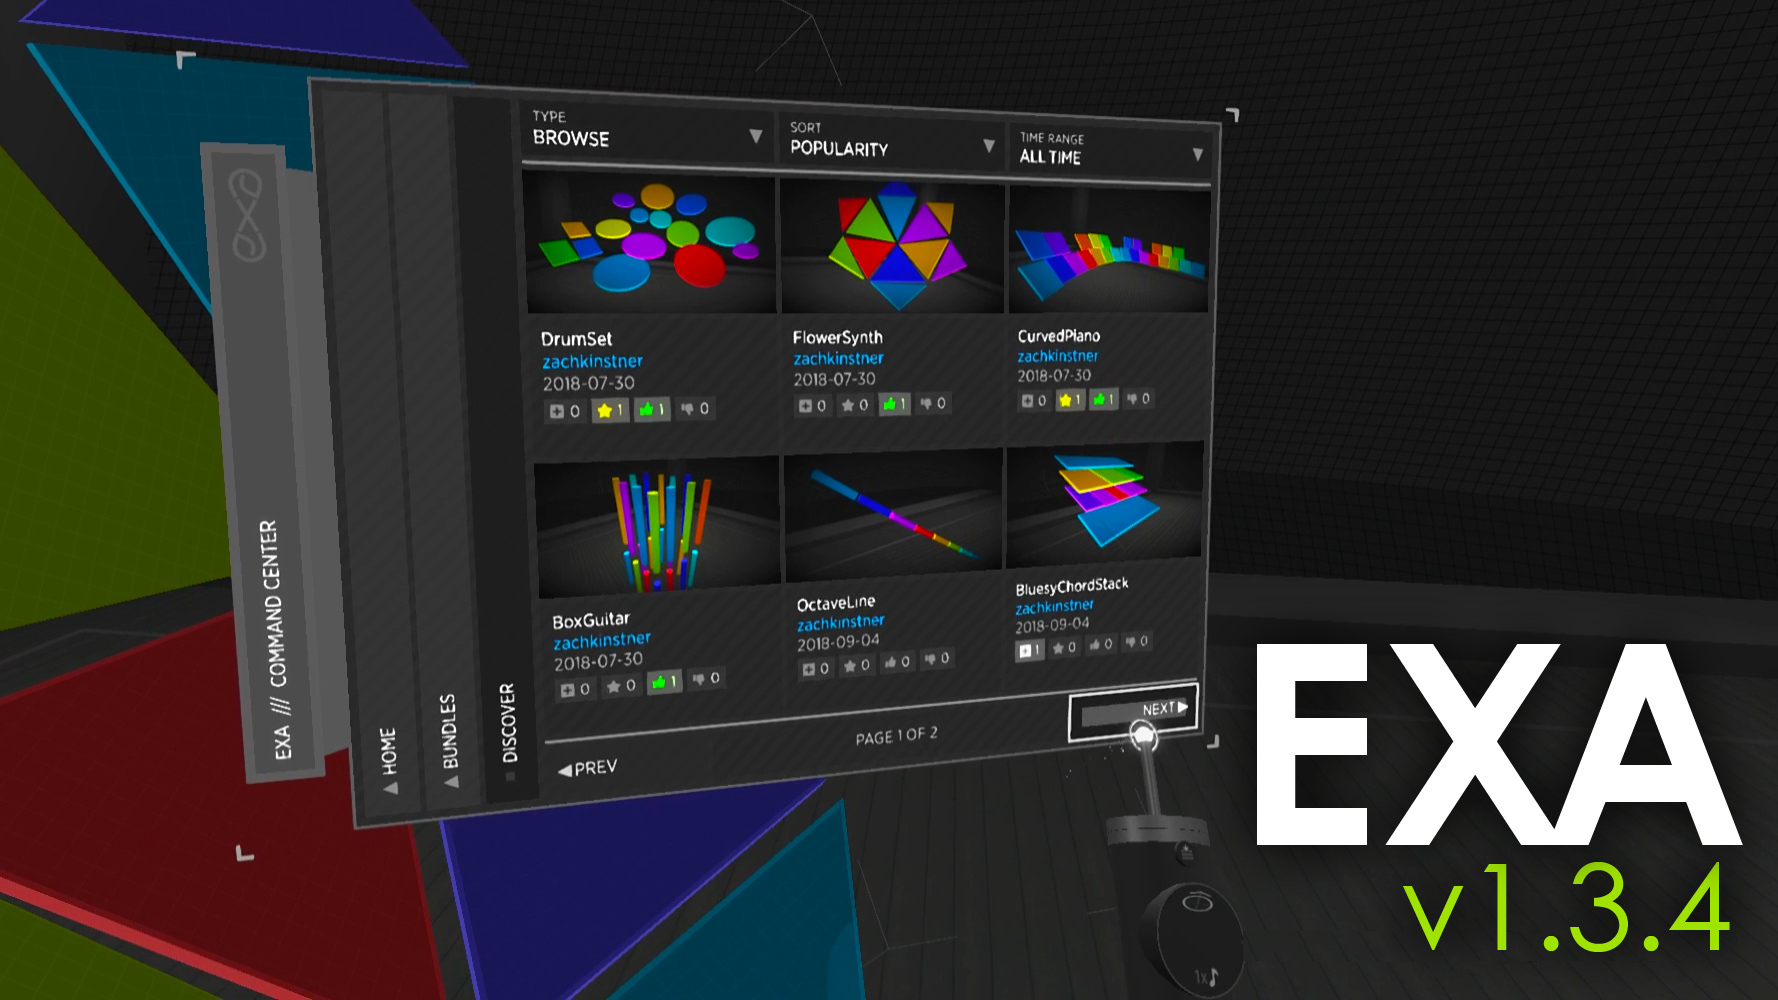
- To join a multiplayer room, first select the “Multiplayer” button in the Command Center. This opens a listing of available rooms, which includes options for sorting and filtering at the top, and paging buttons at the bottom.
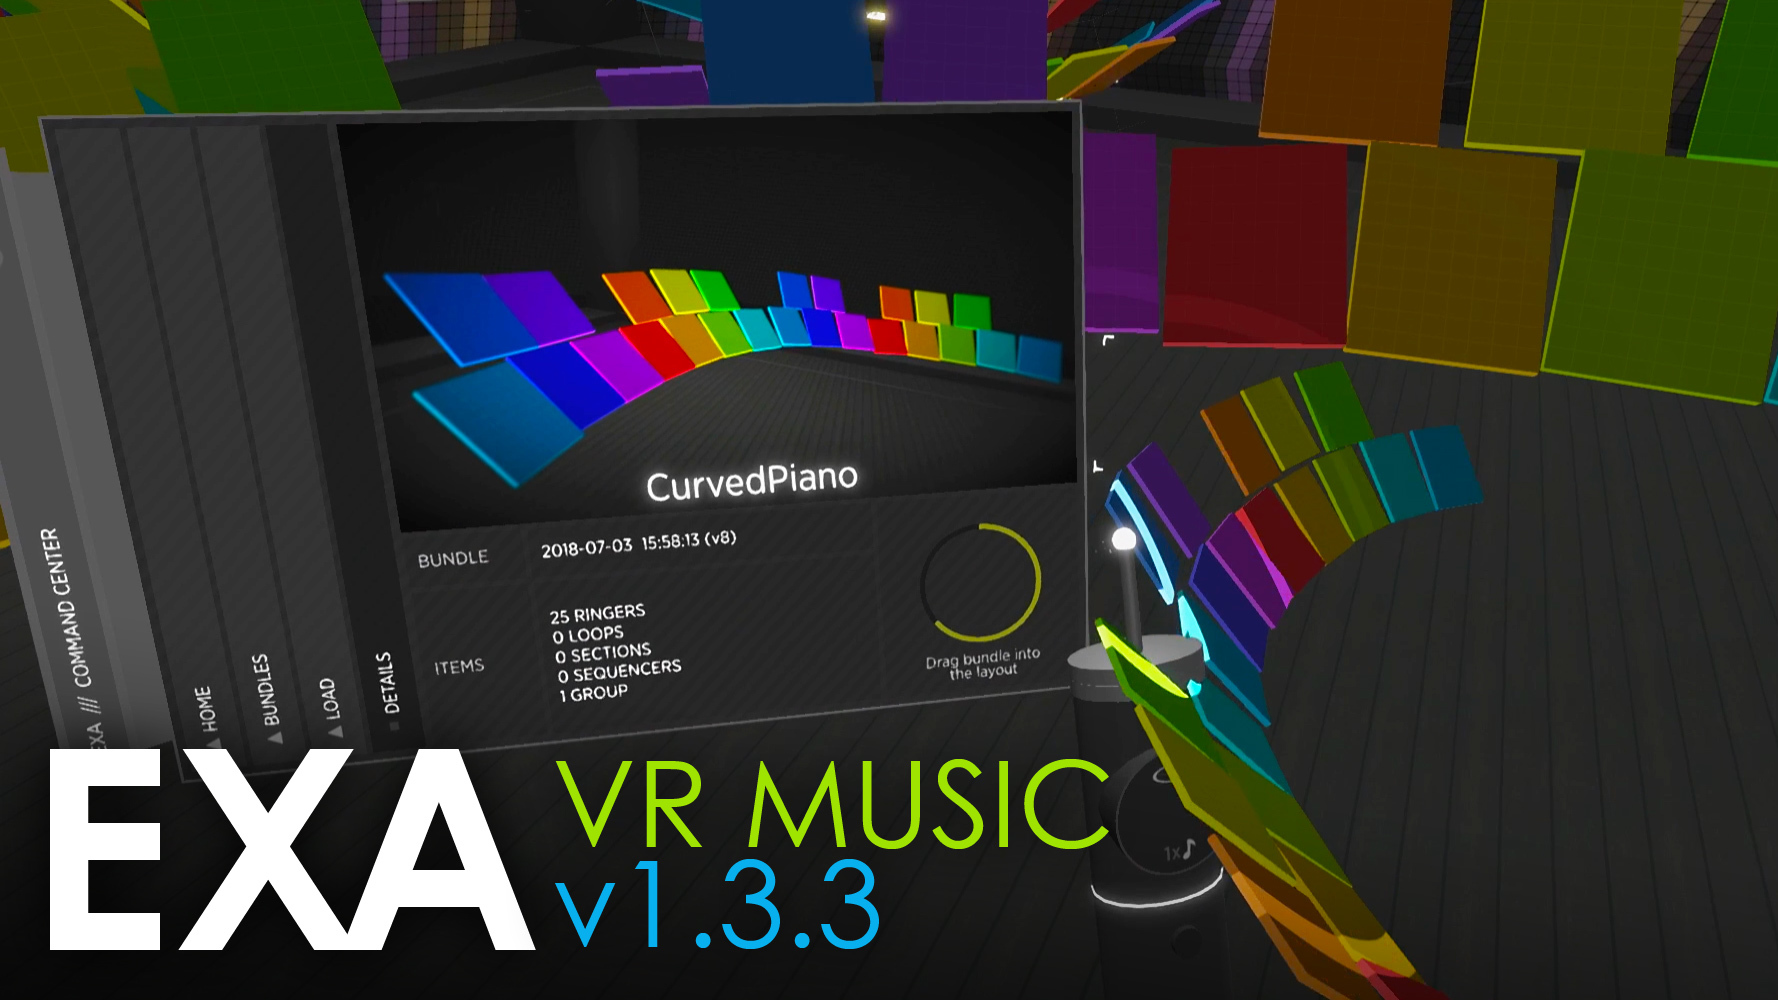
- Once you find the room you’d like to join, select it to open the “Room” menu page. Here, you’ll find details about the room and a large green “Join Room” button. Select the “Join Room” button to request a connection to the other players and to start loading the shared room layout.
- An important note: when you join a room, EXA first clears your current layout (and then loads the room’s shared layout). Remember to save your current layout before joining a room to avoid losing any work.
- Upon joining a room, it may take several seconds (and possibly minutes) to fully load the shared layout. During this time, a progress meter appears on the walls of the layout to show how much of the layout is currently loaded. Items appear in the layout as soon as they’re loaded. This process takes more time when the layout contains lots of data (recorded loops are typically the biggest factor), the network connection is slow, and/or the room host/server is sending the initial layout data to multiple players at the same time.
- The creator of the room may choose to disable your ability to talk to others in the room, and/or your ability to touch/modify anything in the layout. You will receive notifications if/when your permissions change. The room creator may use these permissions for any reason, but a common one is to ensure that other players can only act as a view-only audience or spectator in the room.
- To leave the room, select the large red “Leave Room” button on the “Multiplayer > Room” page. This does not affect other players, nor the room’s shared layout. After leaving the room, the active layout will remain the same, but it will no longer be shared with other players.

MULTIPLAYER: CREATE
- To create a multiplayer room, first select the “Multiplayer” button in the Command Center. Then select the large green “Create Room” button, which appears as the first item (top-left) in the grid of available rooms.
- Important note: you’ll need to configure port-forwarding on your router (a one-time process) before you can create a “public” or “private” room. The “Create Room” page provides the necessary information, including the port (38411, UDP protocol) and your computer’s local IP address (often starts with “192.168”). Essentially, port-forwarding tells your router to direct incoming requests to a particular computer in your local network -- this is what allows your computer to receive “join room” requests from other players. Port-forwarding is usually an easy process; find step-by-step help for your particular router by searching online for “port-forward ”.
- The “Create Room” menu page provides an input for the room name (required for public and private rooms), the maximum number of players (including a “no limit” option), and the room visibility type (public, private, local/LAN). Select the green button at the bottom of the page to create your new room.
- There are three room visibility types. A “Public” room is visible to all players in the room listing. A “Private” room is only visible to players that enter the full room name into the search box (at the top of the room listing page). A “Local/LAN” room is only visible to players with computers that are connected to your local network.
- While EXA currently allows a room to have an unlimited number of players, hosting a large number of players may cause performance to degrade for the room creator. As a “beta” release of multiplayer, scenarios with a large player counts have not been tested yet. To host dozens of players simultaneously, it may help to disable the “talk” and/or “touch” permissions for all non-performers.
- Upon successful creation of a room, the Command Center automatically navigates to the “Multiplayer > Room” menu page.
- Once the room is created, it can take several seconds for EXA to prepare your layout for sharing with other players (this involves converting all items into small data files). During this process, progress meters appear on the walls of the layout to show how much of this process is complete.
- The “Multiplayer > Room > Players” menu page provides options that only the room creator can control. The creator can set each player’s “talk” and “touch” permissions. The “talk” permission allows everyone to hear the player’s voice (and/or microphone sounds). The “touch” permission allows the player to hit and play ringers, edit items, create loops and other items, delete items, etc. Disabling “touch” (and possibly “talk”) is a great way to invite spectators into your room, without the risk that they might disrupt your work or performance.
- The “Multiplayer > Room > Players” menu page, at the top, allows the creator to set the room’s default “talk” and “touch” permissions. Each new player that enters the room will automatically receive these permissions (existing players are not affected).
- As the room creator, you cannot leave the room without closing it for everyone. To close the room, select the large red “Close Room” button the “Multiplayer > Room” page. Upon closing the room, all other players become disconnected from the room. After closing the room, you and the other players will experience the same thing: the active layout will remain the same, but it will no longer be shared with other players.

MULTIPLAYER: OTHER
- Each player in the room has their own collection of menu interfaces. Unlike the ringers, loops, sequencers, and other such “content” items, these menu interfaces are not part of the shared layout. This includes the Command Center, Loop Recorder, tool racks, and all item-specific menus that appear upon selecting items.
- When you use a menu interface in a multiplayer room, other players will see your menus as semi-transparent gray boxes. When you highlight or select a button in the menu, other players see those buttons as lighter-gray boxes. This simplified menu display provides some helpful context about what the player is doing, without showing a full, duplicate menu. To avoid clutter, these boxes quickly fade away after the player stops using the menu.
- The “Multiplayer > Room > Settings” menu page provides options for multiplayer experience. The top input box sets your display name (which appears above your headset). The “Main” volume slider adjusts the volume of all ringers and loops (a value of 20% or less is helpful for comfortable conversation). The “Voice” volume slider affects the volume of everything else, including the voices of other players. There are also checkboxes for muting your own voice, and choosing to receive notifications when players join or leave the room.
- The “Multiplayer > Room > Players” menu page shows a listing of all players currently in the room. There are paging buttons if the players cannot all fit on a single page. Each player displays their in-room ID, player name, ping, and current talk/touch permissions. The “ping” value represents the current network latency, in milliseconds, between the player and the room server. The names and values on this page update every few seconds, and each player name glows and changes color based on the player’s current actions in the layout.
- While you are currently in a room, visiting the “Multiplayer” menu page will automatically redirect you to the “Multiplayer > Room” menu page (showing details for the active room).
- While you are currently in a room, most of the Command Center options remain available. For example, you can save the layout while in a room, load bundles into the layout, create new items or groups, summon menu interfaces to you, etc.
- While you are currently in a room, the Command Center prevents the loading of new layouts. This avoids the scenario where one player in the room could (intentionally or not) erase/replace an entire shared layout without warning.
- The “Multiplayer” menu’s room listing automatically refreshes every ten seconds, however, the refresh is delayed whenever a cursor is near to the menu. This avoids having the list content change while you’re trying to interact with the menu.

IN-APP CAMERAS
- The new “Preview Panel” menu allows you to control, from within EXA, the video output that appears on your computer’s monitor. The menu panel itself (on both front and back) displays a preview of that same video output.
- The available camera types are: None (the headset’s default first-person camera), Look (a higher-quality first-person camera), Behind (an over-the-shoulder angle), Above (directly above the headset), Panel (from the center of the Preview Panel, perfect for “selfie” mode), Lens (a smaller camera that you can place anywhere), and Viz (watches the colorful walls).
- The “Angle” slider sets the camera’s field of view. Lower values (starting at 60) appear more zoomed-in than higher values (up to 120), which show more of the layout. Note that higher values can make the sizes and positions of objects appear distorted.
- The “Smooth” slider sets the amount of camera smoothing to low, medium, or high. Smoothing reduces camera jitter, but also makes the camera react more slowly to movement.
- The “Lock” checkbox causes the Preview Panel to stay in a fixed position relative to the headset. While the Preview Panel is locked, it can still be grabbed and moved to different positions, but it will always face toward the headset. The “Lock” can be useful in various scenarios. For example, it can function a bit like a “selfie stick” when using the “Panel” camera mode, and it provides a hands-free way to always know what your audience or stream viewers are seeing.
- When using one of the Preview Panel’s cameras, the panel itself is not visible to those cameras. It always remains visible to the player in VR, however.
- The current player’s avatar is visible when pointing the camera toward the headset. This avatar has a lighter/shinier coloring than the loop-playing robots, thicker “glow” areas, and a mouth. The avatar’s glow areas react to live ringer hits, and the player’s voice volume causes both glowing and mouth movement.
- All camera types (except for “None”) tell EXA to use a high-quality secondary camera. This camera is in addition to the usual in-headset camera views, so it does have a performance cost. A decrease in performance may or may not be noticeable, depending on the computer and graphics card.
- The previous “High-Quality Camera” checkbox (in “Settings > Visual”) is now removed. To use the equivalent camera, use the “Look” camera mode, with a 60-degree angle and medium smoothing.

OTHER
- Updated the command center to retain its position upon loading a layout.
- Added buttons to the command center “Summon” menu for summoning the Preview Panel and the Preview Lens. Note: the lens only becomes available once “Lens” is selected via the Preview Panel.
- Moved all of the command center’s “summon” target positions backward to avoid conflicts/overlaps when opening the command center's larger pages.
- Added a keyboard-based (Ctrl+S) "emergency save" feature, which gives players a way to save their current layout in (unexpected) cases where the Command Center menu has failed or is inaccessible for some reason. The layout is saved to the usual folder (Documents/EXA-VR/user-###/Layouts/) as a file named “emergency-save--.exaLayout”.
- Added a 32-bit version (in addition to the existing 64-bit version) of Exa.Native.Audio.dll to the “EXA Remix” package, allowing Remix to be compatible with 32-bit computers/builds.

FIXES
- Fixed issue causing some items in a group to be repositioned, upon loading a layout. This occurred in scenarios where those items were outside of the layout’s boundaries, despite being contained within a group that is legally within the boundaries.
- Fixed issue causing sections and sequencers within a bundle to be removed from their parent group upon that bundle being placed into the layout.
- Fixed issue causing a new document to show images in the wrong dimensions upon adding the first page to the document.
- Fixed issue occurring when the app scans soundfont/sample/document directories, but receives an error from the OS. This can occur, for example, when access to a particular directory is denied. EXA now listens for such errors and displays an in-app notification with the relevant details.
- Fixed (possibly) issue causing a loop to occasionally play incorrect sounds after the player has changed the loop’s active soundfont/sample several times.
PATCH 1
- Upgraded to the latest version of "Forge Networking Remastered". This should fix occasional disconnection issues that can occur -- immediately upon joining a room and/or at times when several network messages are being sent simultaneously.
- Fixed issue causing the "Leave/Close Room" button to stay enabled while the leave/close action is in progress.