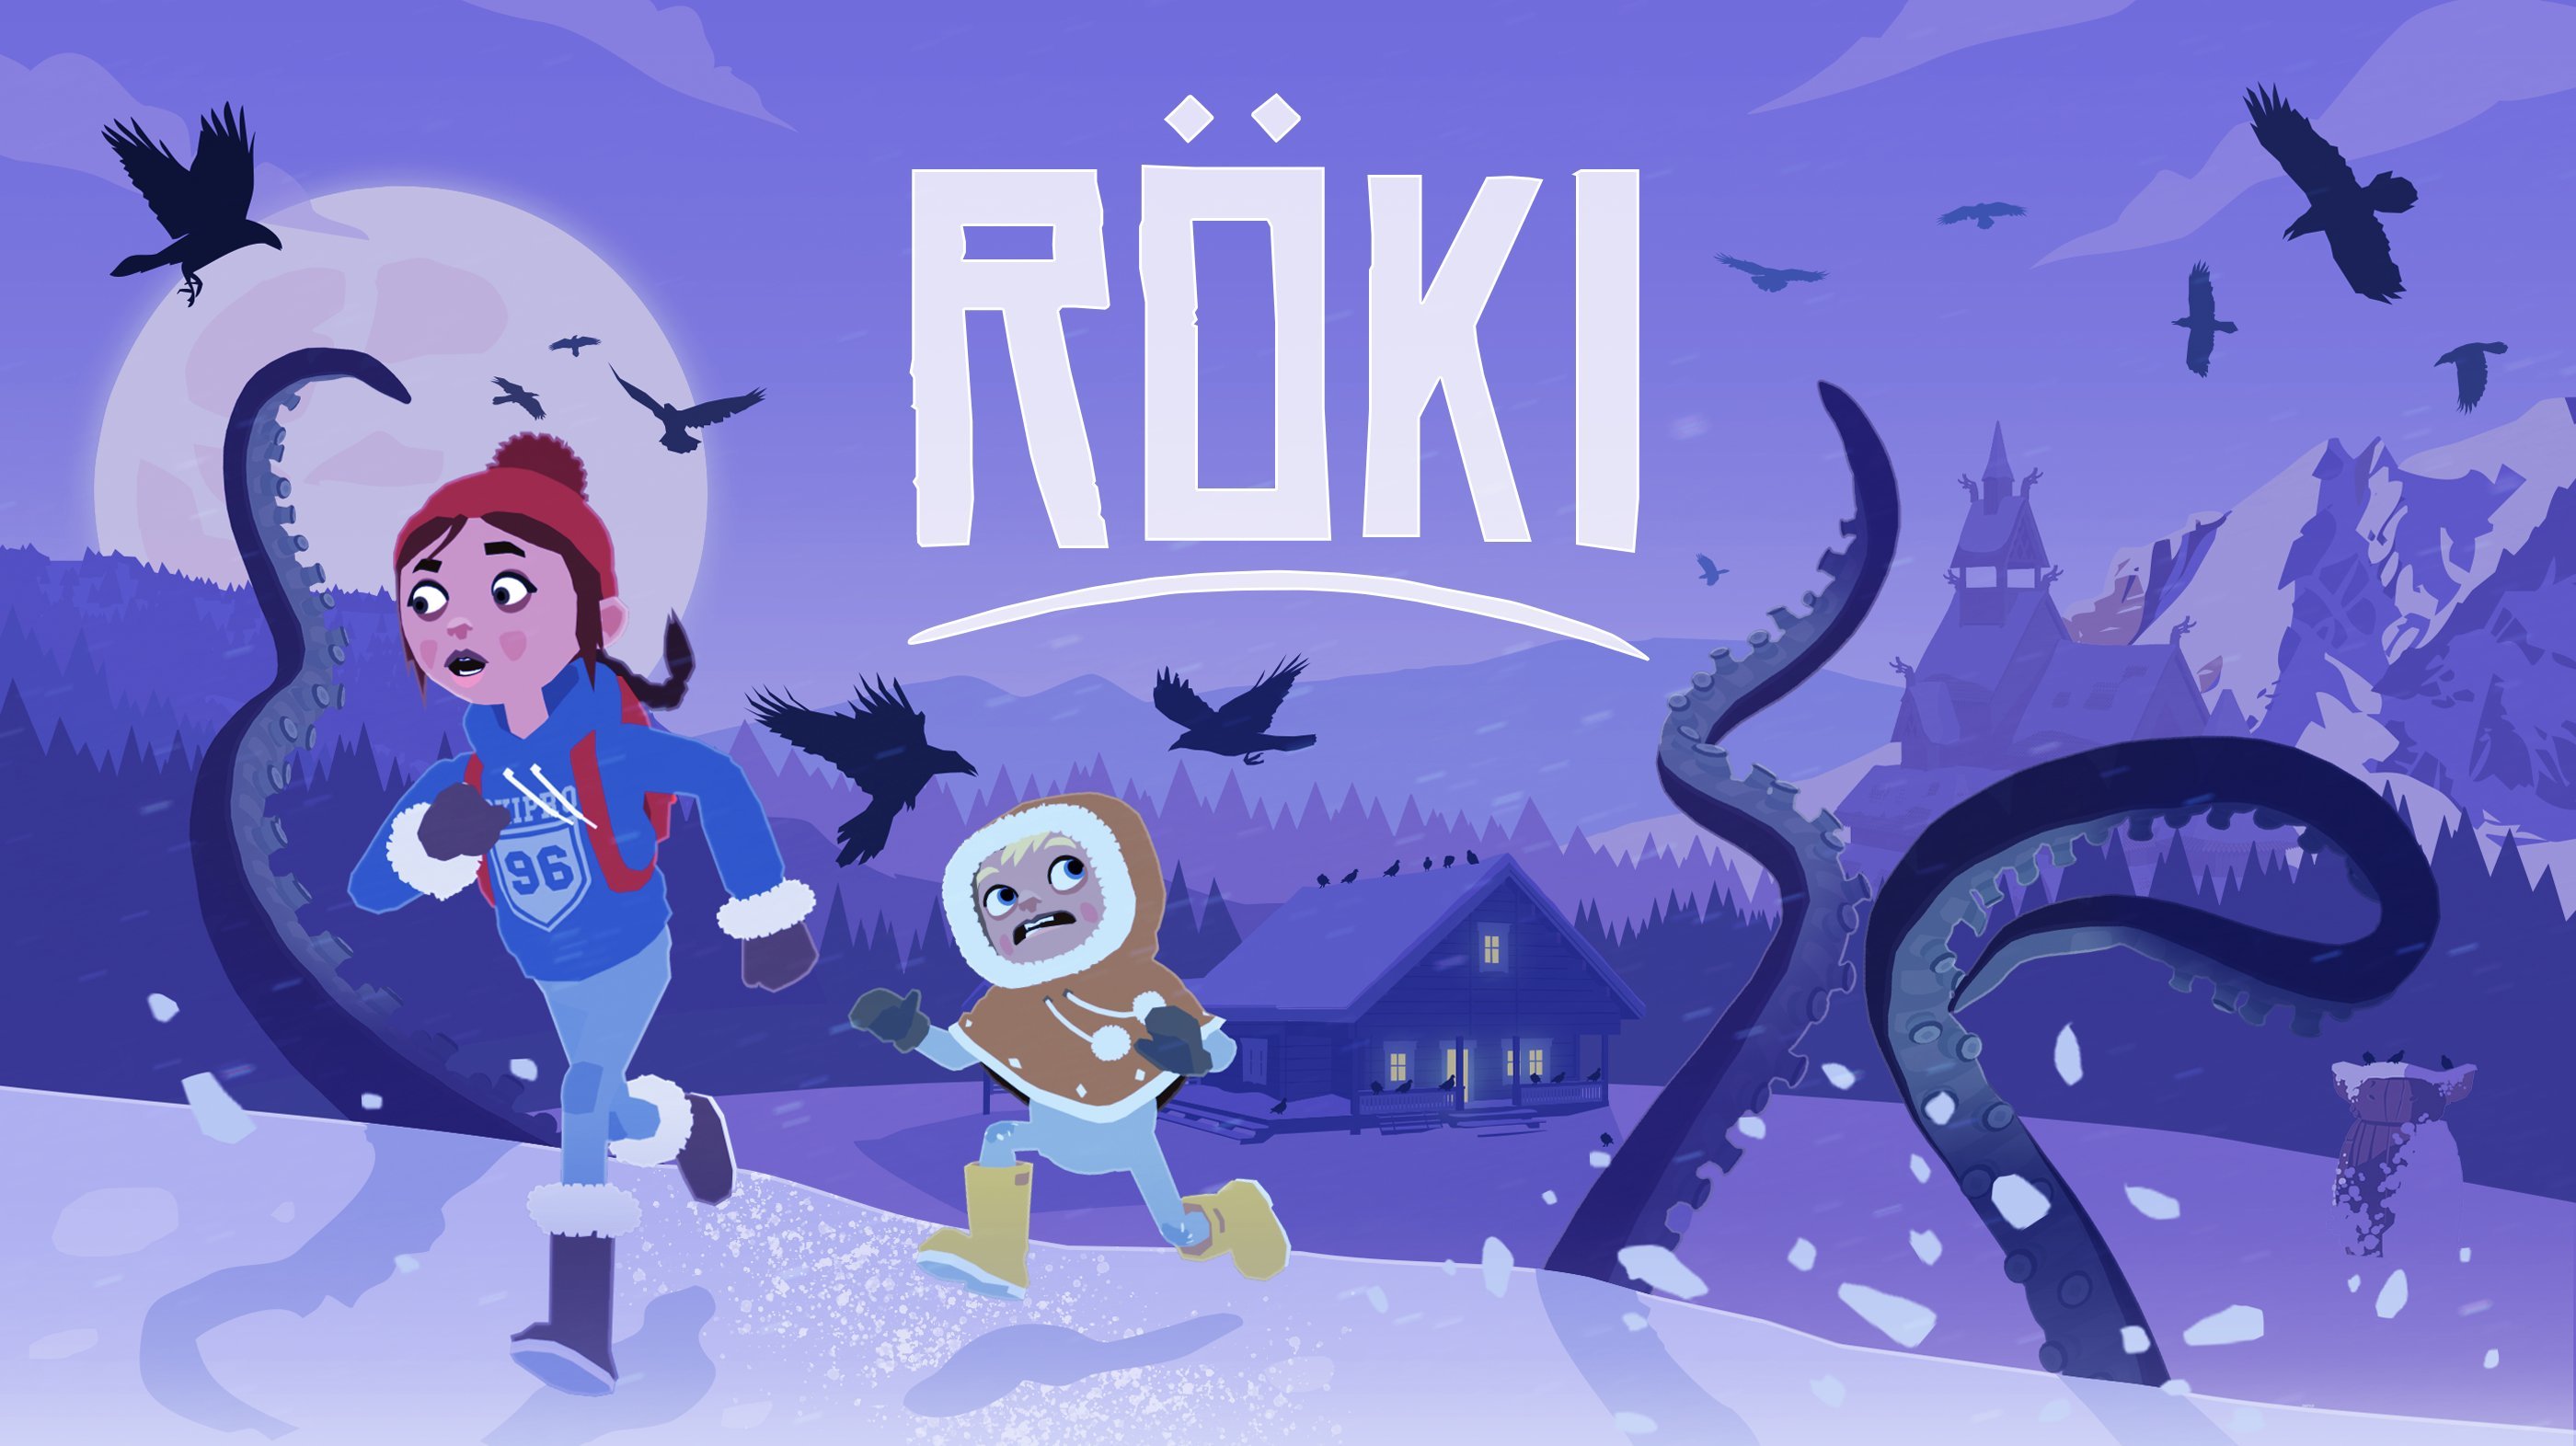
We are excited to inform that we have achieved another milestone🎉
On this occasion we have prepared this brand new keyart☝️
Milestone summary: ☑️ Final art/anim/audio/gameplay is in ☑️ Single playthrough time of 12-15 hours ☑️ Script (38K+ words) locked & localised into 10+ languages
The DevGAMM Awards ceremony is behind us, and we are excited to inform that Röki has won in the Best Indie Game category🎉🎉🎉 Thank you all for your support🤗
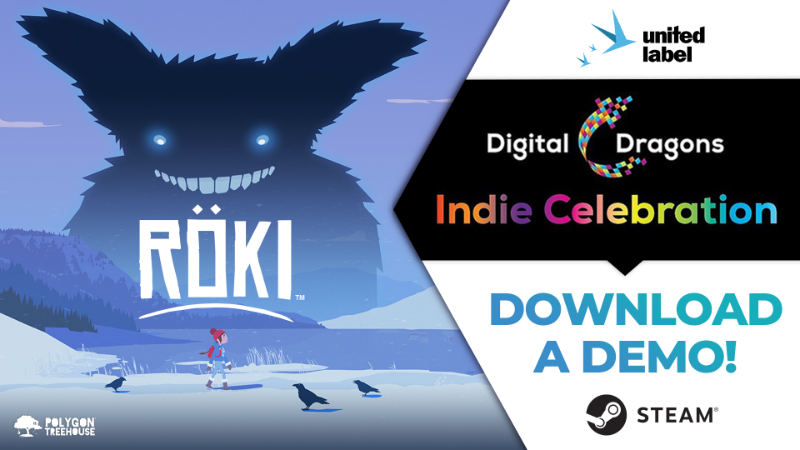
Digital Dragons Indie Celebration - Röki demo is available again!
Digital Dragons indie games showcase on Steam is now live! Don't miss a chance to try out a demo version of Röki - go to Store Page and hit "Download Röki Demo".
Join Digital Dragons Indie Celebration here: https://store.steampowered.com/sale/digitaldragons
➡️ On May 14, 4 PM (CEST) we'll be live for streaming by Igromania!
Röki Dev Blog - What the Flip is Non-Linear Music?
Have you ever heard of the term Non-Linear Music? No? Don't worry! We will explain what it's all about. Let's start from the beginning.
To gain enhanced audio capabilities in Unity we had to integrate FMOD (a piece of audio middle-ware) into our game. This essentially bolts onto Unity (the game engine). One of the key things it gives us is the ability to utilise non-linear music.
We thought we’d take a moment to explain what non-linear music is, and why we’re super excited to have it in our ‘bag of storytelling tricks’ for Röki.
We’re going to be breaking this down assuming no prior knowledge and that you’re not an audio super-buff. If you are an audio wizard, apologies, you’ll already be very familiar with the content of the rest of the post. It’s also worth pointing out that this post is not written by an audio wizard but a muggle developer so hopefully it’ll give an accessible explanation and insight into to what non-linear music is. If you’re a player you may find this an interesting insight to what’s going on under the hood in some of your favourite games!
Linear Music
Before we dig into its non-linear counterpart we should first look at linear music and what that is. Linear music is a complete music track that starts playing at the start of the piece and plays until it reaches the end.
Example of non-linear music are every song you hear on the radio, or any film score.
In games, you have some more capabilities with linear music. You can:
Make it loop or repeat
Change the volume of the whole track, including fading it out
The Two Aspects of Non-Linear Music
Broadly speaking there are two ways in which non-linear music can be achieved. These two aspects can be described as:
Vertical Mixing
Horizontal Mixing
It’s important to note that these two aspects are not mutually exclusive, but more on that later.
Non-Linear music - Vertical Mixing
In order for vertical mixing to work your music track must be separated into a number of ‘stems‘. These ‘stems’ are the component parts of the track. For example, you could break down a track into it’s component drum, bass, piano and flute layers, as seen below.
This then gives you the ability at any time to fade in or out the different component part of a track. This can be used to make the game feel more reactive. For example, if a dangerous event occurs then the drum layer may fade in, when the danger has passed it fades out again. This is vertical mixing.
Non-Linear music - Horizontal Mixing
The other aspect to non-linear music is horizontal mixing. This is when one long track is divided up into smaller sections. The first section plays, but when it approaches its end, rather than blindly going onto the next section in a linear fashion it makes a choice!
It can pick from the different sections you have. This choice could be based on a random variable or a game-play factor, such as a story event or puzzle state.
This gives your music much more variety, allows it to be intelligent and react as the events unfold on screen. _For example, choosing to transition to a new upbeat section can add to a player's sense of accomplishment. At the very least it can get you a lot more mileage from your track, rather than a linear track that is sequentially the same each time, it puts the controls for the emotional power of the music in your hands!
It is important to note that in order to use horizontal mixing these sections must be written, so they can each transition into each other so require some thought as part of the composition process.
BOTH
As mentioned earlier, these two aspects are not mutually exclusive. Within each horizontal music section you can also have different vertical music layers that you can drop in or out.
So next time you’re playing game and you notice the music react, chances are it’s down to the use of non-linear music. Anyhow, we’ll leave it there for this week. Apologies to any audio buff appalled by my layman’s explanations;)
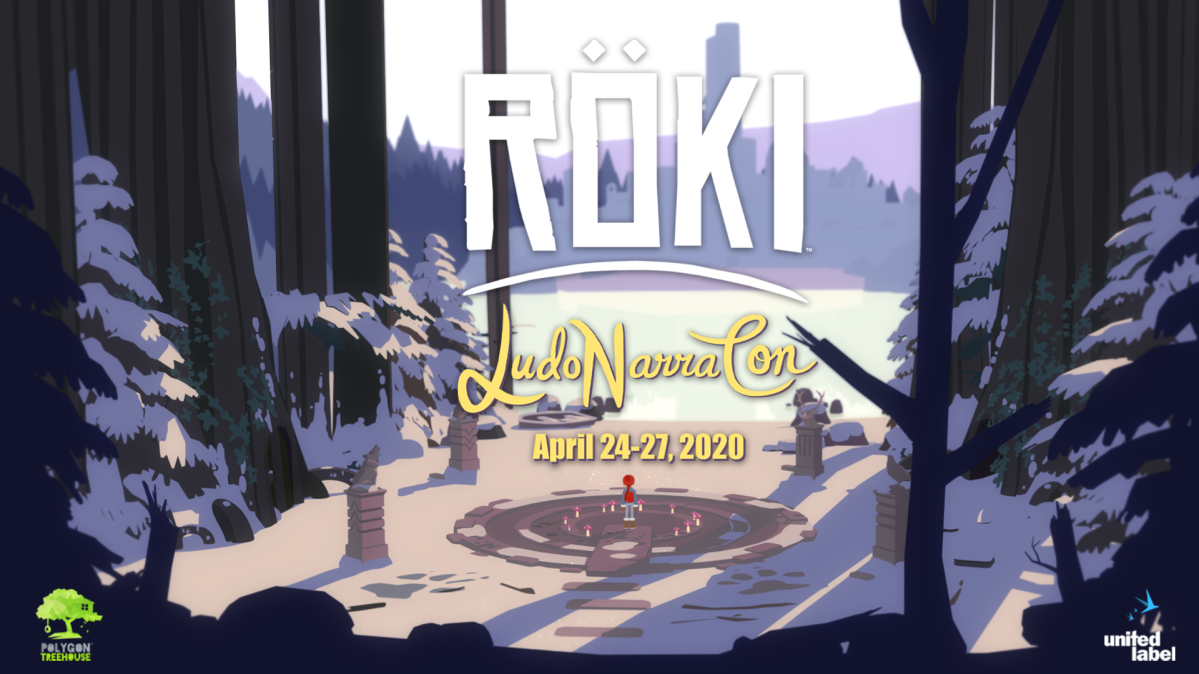
LudoNarraCon is a digital convention that celebrates narrative video games, and we are proud to be a part of it along with our Röki! Check out our schedule for the next few days, make sure you have enough drinks and sweets, because we're going to talk a lot! Oh, and of course don't miss a chance to try out a Röki demo, and... to surprise us during QA with some tricky questions about our game!
Last week, we revealed to you our method for texturing everything in the game. Today we want to show you how we used our lighting systems in the process of creating neat shadows. Grab something to drink and enjoy reading!
As you may or may not be aware, Röki isn’t rendered in the traditional 3D way. Our game environment receives no lighting (but does receive shadows), but appears with the exact colors we specify when we create it (in the swatch texture). The characters are similarly unlit, but in their case are tinted by ‘Unlit lights‘ that we place in the scene to bed them into the background.
WHY SHADOW VOLUMES?
Our existing lighting system is working well, it allows us to bed the characters into the scenes, and we can have smooth interpolation of lighting on our characters as they move around the scene. It’s great for soft broad changes as you move around (see a before and after of how it beds characters into our scenes below).
So why add a new element? Well, Tom created a scene with some hard defined shadow areas. We tried to light the characters to reflect this with our standard ‘unlit lights‘ and it was kinda tricky. As I said, they’re good for broad soft lighting changes but any sudden change of lighting was not easy to achieve.
We didn’t want to rule out having these stark and dramatic shadow areas in our scenes so went thinking about how we might achieve the desired effect by building upon our lighting system.
HOW DO THEY WORK?
In fact the result was actually pretty simple. It builds on a couple of existing things we already have in the game: trigger volumes and pick-up fades.
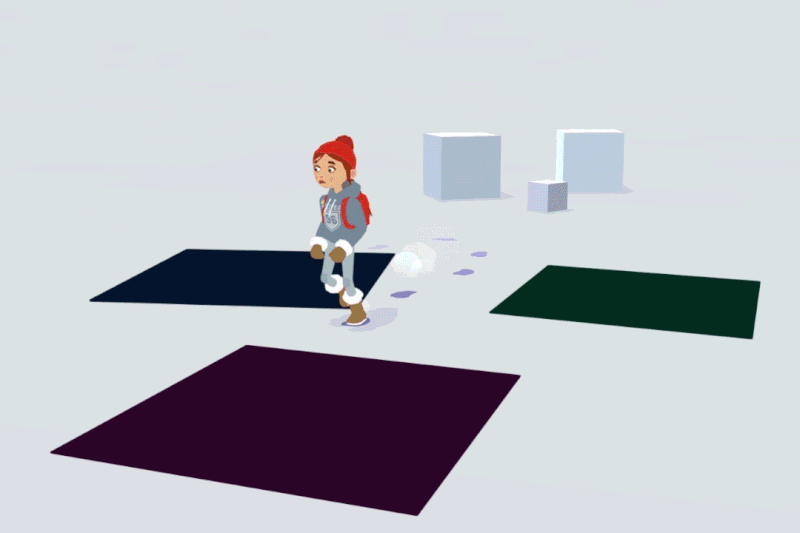
We use trigger volumes for all kinds of things in Röki. They are essentially an intelligent box. The box can tell if a certain objects enters its volume, if something does, it can then trigger an action. We use these for gameplay, but we realized we could also use them for some kind of shadow volume.
The other elements we had already was simple time-based shader transitions. We’d done these for fading out objects when you pick the up (rather than them vanishing with an unsightly ‘pop').
We realized that in combining these two elements we could use the trigger volume to talk to the character’s shader, telling the character to ‘go dark‘ when they enter, and ‘go back to normal‘ when they exit. We would use the simple fade to soften the transition into shadow when entering the volume, and to gently come out of shadow when they exit the volume, to avoid an instant ‘pop’.
The only thing left to do was to add an extra ‘shadow volume‘ color parameter to our character shader. This would be used to tint the character’s shader darker when they enter the shadow area. This change in the character’s shader would be driven by the volume interactions and the fade.
And that’s all the ingredients we used. It does build on the underlying system, but is in itself pretty simple. So to recap:
Character enters a trigger volume, game recognizes this and sends and tell the character to ‘Enter Shadow‘
This then tells the character’s shader material to begin fading up the shadow color (over a short specified time, currently 0.25 seconds but tweakable).
The shadow color (specified in the volume itself) is multiplied over the top of the underlying character color. As the shadow color is faded in, the shadow appears stronger on the character.
When the character leaves the shadow volume the same thing happens in reverse.
As stated above we set it up so each volume had its own shadow color. This allows for different shadow color for different scenes, or even within the same scene (some might want blue tinted shadows and others green for example).
FURTHER TWEAKS
We’re gonna work with the system and see how it feels but have had a few suggestions already on how to improve it further that we’ll take a look at. For now, we achieved what we wanted, the ability to have Tove and her pals walk into dark shadow with a nice transition (and no ‘pop‘). This is quite a good example of how you can achieve something quite quickly with elements from elsewhere in your game.
We have plenty of development knowledge to share, so why not do so through some Steam updates? Here’s the very first of our Dev Blogs, enjoy!
The texture system we decided to use - without doubt - is one of the most liberating aspects of our art creation process, so we thought we'd dive a little deeper into it here. OK, buckle up!
Firstly, what is it exactly? Well, it's our method for texturing everything in the game, which basically means it's how all the characters and the environments get their 'colour'. Those of you familiar with texturing will know that normally it can be very time-consuming, particularly for complicated objects. This is because textures usually have a lot of detail in them.
So typically, all needs to be done in such a way, that the texture isn't stretched or distorted when applied. Doing this properly and efficiently, so that there is no wasted texture information, is a dark art and something that our system neatly sidesteps.
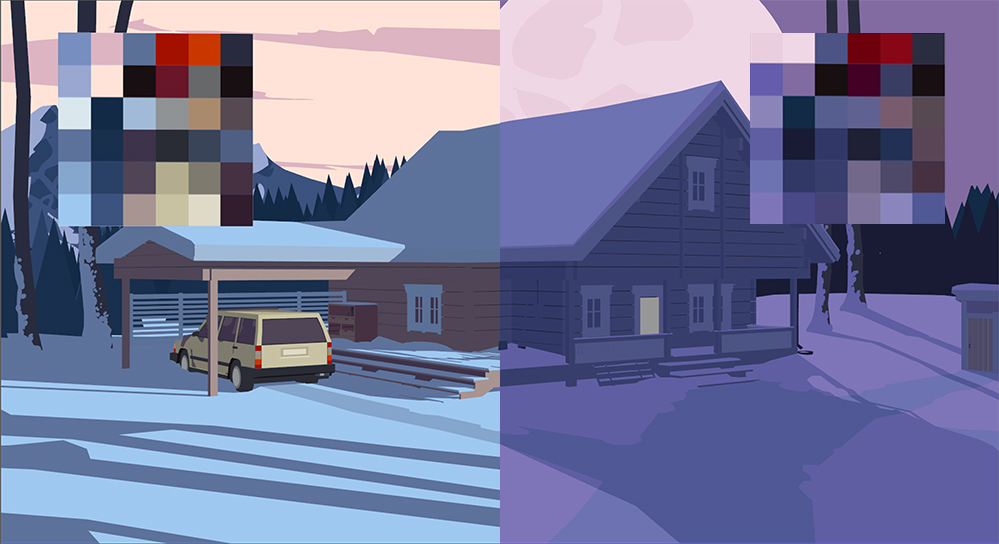
Instead of a lot of texture information, we rely on block colours. By this I mean a colour without any variation or graduation - literally just one RGB value. When you have enough of these, it's possible to give the appearance of detail, whilst retaining a very clean and graphical look. For example, this suitcase uses 8 colour blocks for the case, and six for the stickers on top:
Such colour blocks grouped together are called swatches. This approach also applies to larger environments as well, though there you need bigger swatches. Typically though, we still only need one texture per environment. As you'll see, a lot of the swatches are subtle darker or lighter value shifts of the same colour. We do this to maintain a harmonious palette, whilst also giving us enough variation to apply lighting information to shapes.
Because the colour blocks are only one colour value, it is impossible for the UVs to show distortion. This means they can be mapped incredibly quickly. The UV layout doesn't look as pretty, but the time savings make it well worth it.
Another big win is that it also allows us to do large scale colour shifts for whole environments by applying filters, so we can quickly test out warmer or cooler colour palettes. In certain instance this can be effective enough to change a setting to a whole different time of day. Or, if more colour precision is required, as was the case with the exterior, it's still very quick to go in and edit the swatches once they're all in one texture. You can see how similar the two textures are here:
The characters use this swatch approach for 90% of their texturing as well. The only difference is that we add some larger 'detail swatches' for any specific patterns, like Tove's hoodie, or her badges:
Tove's character model actually has a lot of intersections. Traditionally this would make texturing very hard, but once again, our system does us a massive favour. The lack of texture detail combined with flat shaded lighting means it's impossible to spot the joins. Result!
Pretty impressive huh? Here's a summary of the 4 big wins;
Quick to author (no complicated UV-ing)
Very memory efficient - typically one environment texture per scene
Quick to make global colour changes to a scene or character
Allows us to intersect geometry more liberally, which saves a lot of time
So all in all, we're very happy with this approach. Hopefully you like the visuals it produces as well!!
Until next time, Tom & Alex
Röki will be showcased at LudoNarraCon!
During LudoNarraCon we'll be streaming live! See for yourself what mysteries await you among these snowy lands - join us and Tove on April 25th.
For those who have not yet had the occasion to play the demo version of Röki, this will be a great opportunity to catch up!
LudoNarraCon is a digital convention that celebrates narrative video games, hosted entirely on Steam! It aims to create a platform to showcase and celebrate interesting and innovative narrative games - a perfect place to show Polygon Treehouse’s upcoming indie darling!
Set a Steam reminder here - https://bit.ly/3emdzVO