Welcome to another devlog. Today, we’re diving into the creative process behind the UI animations of our game. Our goal was to make the UI feel organic, engaging, and visually unique, aligning with the game’s hand-drawn aesthetic. To achieve this, we designed UI animations that give players the sensation that each button and UI element is being "sketched" into existence. The Vision: Wisp-Inspired Animation for UI Elements Our concept for the UI animations was simple yet effective: create smooth, fluid animations where each UI element appears as if it’s drawn by a wisp (which is the main element of our game), gradually revealing itself in an elegant, hand-sketched manner. The goal was to avoid overwhelming players with excessive motion but instead offer a subtle and pleasant visual experience that enhances the UI without cluttering it.
The Tools: Spine for Animation To bring this vision to life, we used Spine—a powerful 2D animation tool that’s perfect for creating smooth, dynamic animations for games. Using Spine, we created each UI button animation by utilizing a combination of bones and path setups to create the fluid motion of the wisp drawing the UI element.
Here’s a breakdown of how we achieved the desired effect:
1. Wisp Motion Path Setup Each button’s animation starts with the wisp moving along a defined path. We carefully designed these motion paths to be smooth, curving gently to reflect the natural flow of the "drawing" process. The wisp follows these paths, simulating the motion of a hand sketching the button into existence. This gave the appearance that the button was slowly coming to life from thin air, adding an ethereal, dynamic touch to the UI. 2. Bones for UI element Reveal Once the wisp finishes its motion, the UI element itself starts to form. The final element is revealed by manipulating bones in Spine, allowing us to scale the button from 0% to 100% in size. The bones system lets us control each individual part of the UI element so they can appear in perfect harmony. The scaling transition adds an extra layer of smoothness, and the gradual reveal feels very natural and organic. 3. Smooth Transitions and Timing To maintain fluidity and smoothness in our animations, we paid close attention to the timing and easing of each motion. Rather than abrupt starts and stops, we used easing functions to ensure the wisp’s movement and button scaling felt gradual, enhancing the hand-drawn aesthetic without feeling jarring. The elements don’t pop into existence; they unfold with a sense of grace, fitting perfectly into the game’s overall visual style.
4. Final Touches with Image Sequences After finalizing the animations in Spine, we exported the UI animations as image sequences. This allowed us to have control over each frame of the animation, ensuring that the wisp and the UI elements were rendered precisely as envisioned. The image sequences are efficient for integration into the game, while also preserving the quality and smoothness of the hand-drawn aesthetic during runtime.
One of the key challenges we faced was ensuring that the animations didn’t overwhelm the player. We didn’t want the UI to feel like it was constantly moving or distracting. Instead, the animations serve as an immersive introduction to each UI element, allowing the player to enjoy the process without it taking focus away from gameplay. The wisp's motion is subtle, and the elements grow into place in a way that feels seamless and non-invasive.
In the end, our goal was to make the UI not only functional but a part of the visual storytelling. By using wisp-inspired animations, Spine's bone-based animation system, and image sequence exports, we created UI elements that feel alive and connected to subtle nature of the game. These animations enhance the user experience, making the game world feel more immersive and visually cohesive.
Stay tuned for more updates as we continue to refine the visuals and animations for our game!
Hey Adventurers! We're back with another exciting devlog! This time, we’re diving deep into the dynamic audio implementation for an interactive element—the Collapsible Gate. Get ready to explore how sound enhances immersion and gameplay!
How the Collapsible Gate Works The Collapsible Gate is designed as a dynamic obstacle that blocks the player's path until they interact with a button. When the gate is closed, only debris remains on the ground, representing the collapsed structure. Once the gate is opened, the debris reverses its motion, seemingly reconstructing itself into an energy force field that maintains the active state of the gate. Players must press the button to collapse the gate, clearing their way forward.
The Audio Challenge To create a compelling and immersive experience, we needed to craft an audio system that responded dynamically to the player’s interaction. The challenge was to seamlessly integrate two key sound elements:
Debris movement (falling and reversing to its original state)
Force field activation and deactivation
Our talented sound engineer meticulously designed sound effects for the debris and force field, ensuring a realistic and impactful auditory experience. However, we aimed for more than just great sound—we wanted real-time responsiveness, making audio a living part of the gameplay.
Making the Audio Dynamic To achieve this, we developed a value-based system through programming logic that dynamically adjusts sound effects depending on how the player interacts with the button. The button press state determines which sounds play and when. 1. Quick Button Tap (Minimal Interaction): If the player briefly steps on the button (e.g., just passing over it), the press value moves from 0 to around 0.3. In this case, we only play the force field deactivating sound, followed by a subtle force field reactivation as the button resets to its default state. The debris collapse sound does not play, since the gate does not fully deactivate.
2. Full Button Press (Gate Fully Collapses): If the player stands on the button or places an object on it, the press value reaches 1.0. The force field fully deactivates, and after a calculated delay, the debris collapse sound plays, syncing perfectly with the animation of debris hitting the ground. This approach ensures that the audio matches the visual representation of the collapsing gate, creating a seamless experience.
3. Quick Re-entry (Button Press Interrupted): If the player steps off the button and quickly steps back on, the press value moves from 1.0 to around 0.7. Instead of replaying the full collapse sequence, the system plays only the force field activation followed by deactivation sound, skipping the debris reverse. This prevents audio clutter and maintains a natural flow, avoiding unnecessary repetition of sounds.
Why This Approach Works By implementing a value-based dependency system, we ensure that the Collapsible Gate's audio adapts fluidly to player interaction. This provides us with several advantages:
Increased flexibility – If we adjust the speed of the gate’s activation or deactivation during development, the audio system adapts automatically without requiring changes from the sound engineer.
More natural audio transitions – Sound effects are no longer rigidly tied to fixed animations but instead respond to real-time player actions.
Optimized performance – By eliminating redundant audio triggers, we reduce unnecessary processing overhead, ensuring smooth performance.
Thank you for your continued support! We’re excited to keep pushing the boundaries of immersive gameplay. Stay tuned for more updates, and don’t forget to follow us on social media! See you in the next Devlog!
Hey everyone, and welcome to this week’s devlog! Today, we’re diving into the process of creating swimming animations for Ben. Since our previous animations were focused on ground movement and jumping, adding underwater mechanics brought forward animations for swimming for the characters.
For our water levels, we needed to create swimming animations that felt smooth and natural. Since this was our first time animating underwater movement, we started by gathering references of real swimming motions to ensure accuracy.
Ben and Abi were rigged in Spine 2D using bones and IK controls, allowing for flexible movement. We created four main swimming animations:
Swim Idle – The character treads water in place.
Swim on Water Surface – A movement animation for floating and swimming at the top of the water.
Swim Underwater – A deeper swimming motion for submerged movement.
Pushing a Box in Water – A unique animation for interacting with objects underwater.
Each animation was designed in loops, using different frame rates to maintain fluidity while keeping the maximum frame size under 100.
One of the biggest challenges was ensuring a seamless transition when the character jumped into the water. Initially, we noticed a slight jerk when switching from a running pose to a swimming pose. We resolved this by using Unity’s animation mixing feature to create a smoother blend between the animations.
Aligning the character’s hands with the box edges was another tricky task. The arm and hand positions needed to match the box’s movement precisely. To solve this, we repeatedly tested the animation, taking screenshots of the box in Unity and importing them into Spine. This allowed us to fine-tune the arm rotation and positioning for a more natural interaction.
Since our past animations focused only on ground and air movement, implementing swimming mechanics was an exciting new challenge. Through careful planning, testing, and iteration, we successfully brought Ben and Abi’s underwater animations to life. We can't wait for players to experience them in action!
Thanks for following along, and stay tuned for more updates!
Hi guys! We’re back with another exciting update on Lost Twins 2! And this time, we’re diving into a feature that many of you have been asking for—couch co-op!
Now, you and a friend can team up, solve puzzles together, and explore the whimsical world of lost and found as a duo. But making co-op a reality wasn’t as simple as flipping a switch. It was a journey filled with challenges, surprises, and plenty of learning moments. So, how did we bring this feature to life? Let’s take you behind the scenes and share the story of how Lost Twins 2 became an adventure best shared!
From Solo to Co-Op: A Structural Overhaul When we first set out to build Lost Twins 2, it was designed entirely as a single-player experience. The puzzles, progression, and core mechanics were all built with one player in mind, guiding them through levels in a carefully crafted, linear fashion. But as we brainstormed ways to make the experience even more engaging, one idea kept coming up—couch co-op. And let’s be honest, solving puzzles is always more fun with a friend!
Turning this vision into reality, however, meant reworking the game’s very foundation. We had to redesign core mechanics, rethink puzzle interactions, and adjust level structures to ensure a seamless two-player experience. Every element was put under the microscope to make sure co-op gameplay felt just as intuitive and rewarding as solo play.
Early on, we experimented with both characters moving using the same controls—leading to some hilarious (and chaotic) moments! While the overhaul was no small feat, it opened up new creative possibilities that we hadn’t initially considered, making the game richer and more dynamic than ever.
Old-School Co-Op Controls: A Nostalgic Touch To make co-op accessible to as many players as possible, we embraced a classic approach to controls. Players can share a single keyboard, with one using WASD and the other using Arrow keys—a setup that brings back memories of old-school co-op games and adds an extra layer of teamwork (and friendly chaos!).
During development, our team had countless laughs testing this setup. Watching teammates huddle around a single keyboard, debating over puzzle solutions and navigating tricky sections together, perfectly captured the collaborative and sometimes chaotic spirit of co-op play.
Seamless Switching: From Co-Op to Solo and Back One of the most exciting features we implemented is the ability to seamlessly switch between co-op and single-player modes within a level. We didn’t want players to restart just to experience both modes—so whether a friend joins mid-session or steps away, you can switch on the fly!
This feature came with its own set of challenges, from ensuring puzzles remained solvable to handling smooth camera transitions. But after extensive testing, we’re thrilled with how natural and intuitive the experience feels.
Bringing couch co-op to Lost Twins 2 has been an incredible journey. It’s added a whole new dimension to the game—where collaboration and communication are just as important as clever thinking. Watching players laugh, argue, and celebrate victories together has been the ultimate reward for all our hard work.
We can’t wait for you to grab a friend, partner, or sibling and experience the joy of playing together. Whether you’re solving puzzles side by side or seamlessly switching between solo and co-op, we hope this feature brings you as much fun as it brought us during development!
Thank you for your continued support—see you next week!
In the previous devlog, we shared insights into the intricate mechanics of water flow. This time we delved deeper into the evolution of these mechanics by introducing a new functionality that empowered players to manipulate water movement between specific points within a piece. This enhancement not only elevated the gameplay experience but also encouraged players to engage in creative problem-solving as they navigated through the puzzles.
The newly implemented feature allowed players to direct the flow of water in both horizontal and vertical dimensions. This dual-directional movement was contingent upon the initial movement direction set for the water, providing players with a broader range of strategic options. The ability to control water flow in multiple directions significantly increased the complexity of the puzzles, challenging players to think outside the box and devise innovative solutions to advance through the game.
To facilitate this functionality, the development team defined two Vector3 variables: one to store the water's current position and another to hold its target position. This decision was crucial in enabling smooth transitions as the water moved across the game environment. When a player pressed the pressure button, the MoveTowards function was activated. This function was designed to guide the water from its current position to the designated target position, which was predefined in the inspector. This setup ensured that the movement was not only fluid but also predictable, allowing players to plan their actions with confidence.
The code snippet below illustrates how the movement was executed: if (canChangePosition) transform.position = Vector3.MoveTowards(transform.position, wantedPosition + myPieceHoverGroup.position, MyTime.deltaTime * speed);
Upon releasing the pressure button, the water return to its original position, providing a satisfying feedback loop for players. This return mechanism ensured that players could experiment with water movement without fear of permanently altering the game environment, thus fostering a sense of exploration and creativity. The design choice to revert the water's position reinforced the idea that the puzzles were designed to be solved through trial and error, encouraging players to learn from their mistakes and refine their strategies.
The use of the Vector3 type for the wantedPosition variable was particularly significant, as it allowed for adjustments to both the X and Y values. This flexibility meant that players could effectively control the water's movement in either direction, whether they aimed to navigate the water horizontally across the screen or vertically up and down.
Here’s a video to visualize this new functionality in action:
Devlog # 54 - Water mechanics (Simulating Water Flow Between Connected Pieces)
Hi guys! Welcome to today’s devlog. Today we dive into a fascinating mechanic: simulating water flow between two connected pieces. It's always exciting to explore how programming can mimic the behavior of natural phenomena, like water levels rising and falling. In this post, the team will take you through the process of developing a dynamic water flow system that reacts autonomously, adding a realistic touch to the game environment.
To create this effect, the team first set the pivot point of the water prefab to its center bottom. This positioning ensures that when the water is scaled, it appears to be filling up or emptying out realistically. The next step was defining two levels for the water: maximum and minimum. The maximum level represents the current water level for each piece, while the minimum level indicates the empty state.
The flow mechanism comes into play when there are two distinct water pieces: one at its full state (maximum) and the other at its empty state. A variable called `wantedScale` is used to control the water's state. When the `wantedScale` value is 0, the water’s Y scale is interpolated from its maximum value to 0, using Unity’s Update function as shown below:
This interpolation effect creates the illusion of the water gradually rising or falling, based on the scaling speed. Once the value reaches 0, the water state transitions to empty, and the other piece begins to fill up with water. The two water pieces operate independently, responding only to their current state.
For the flow sequence to begin, the correct piece must be connected to the current piece. If an incorrect piece is connected, the water flow will not initiate, ensuring the mechanic behaves as expected only under the right conditions.
And that’s a wrap on today’s devlog! By using this system, the team was able to replicate the natural behavior of water flow, which adds a layer of immersion to the game world. It's always exciting to bring these mechanics to life, and the team looks forward to refining this feature further.
Stay tuned for more updates, and as always, keep experimenting with dynamic systems in your own projects!
Hello! Welcome to another behind-the-scenes look at Lost Twins 2! This week, we’re diving into a feature that adds depth, creativity, and a sprinkle of challenge to the game—Achievements.
Achievements aren’t just about collecting rewards; they’re about redefining how you approach the game. They encourage exploration, experimentation, and sometimes, a little out-of-the-box thinking. Whether it’s finding a clever solution to a puzzle or discovering hidden interactions, achievements in Lost Twins 2 are designed to enhance your journey in exciting and unexpected ways.
The Philosophy Behind Achievements
From the outset, we approached achievement design with a simple yet ambitious goal: to make them as rewarding and delightful as the core gameplay itself. We wanted achievements to challenge players in meaningful ways, pushing them to pause, think, and experiment.
In Lost Twins 2, achievements aren’t just about ticking off tasks—they’re invitations to explore the game’s puzzles from fresh perspectives. Every level includes its own unique achievement, encouraging players to rethink conventional solutions and uncover new ways to interact with the game world.
Let’s take a closer look at how our achievements elevate gameplay.
Example 1: Feathers with Abi
In this level, it’s natural to use Ben to collect the feathers—it’s the easier option. But the achievement flips the script, challenging players to use Abi instead. This seemingly small change shifts the strategy, encouraging players to see Abi’s unique abilities in a whole new light.
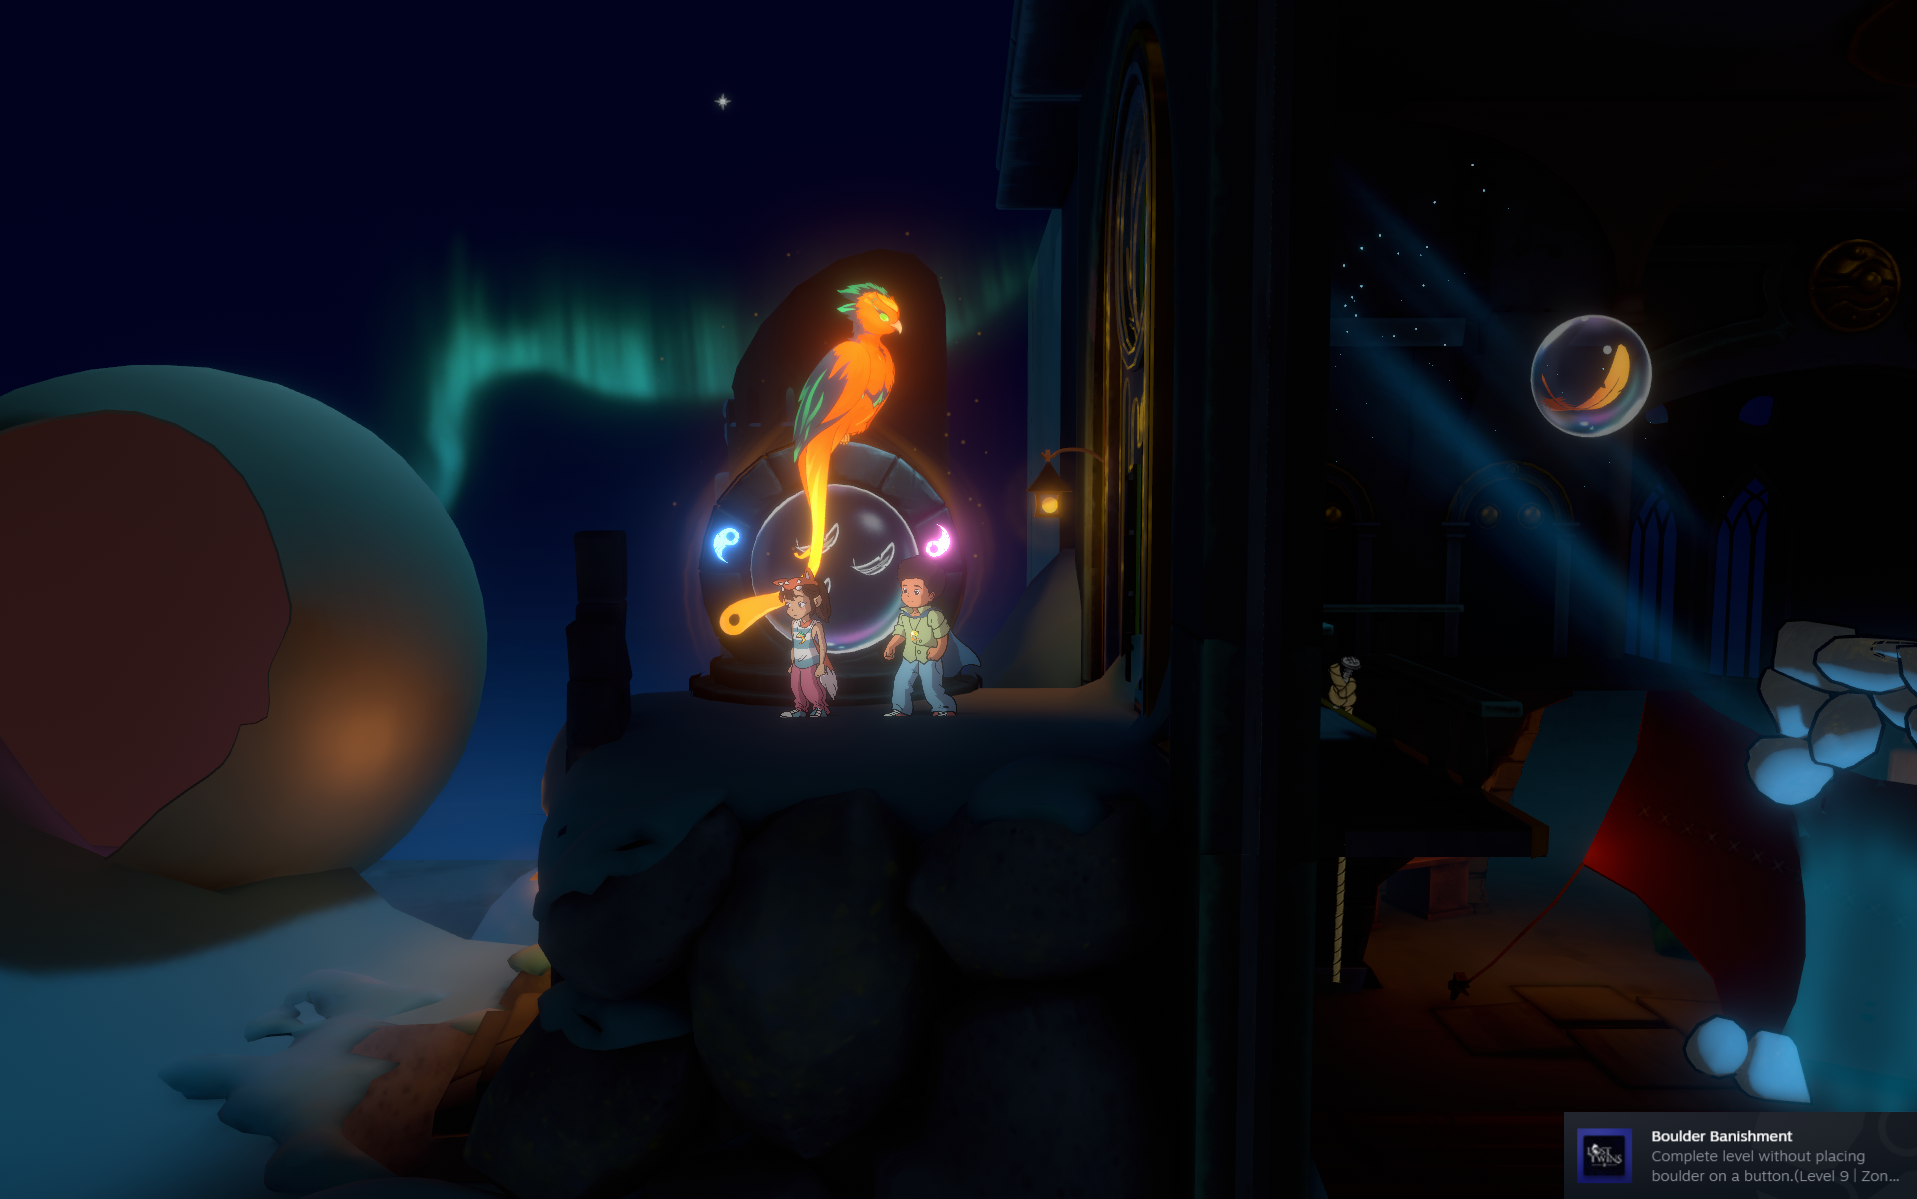
Example 2: Rethinking Boulder Placement
Here, the standard solution involves placing a boulder on a button to open the path to the portal. The achievement, however, encourages players to find an alternate solution. It’s a clever twist that turns a straightforward puzzle into a moment of creative problem-solving and satisfaction.
Balancing Fun and Challenge We worked hard to strike the perfect balance between challenge and accessibility, ensuring that every achievement feels rewarding without becoming frustrating. Our aim? To make 100% completion an achievable goal for everyone, while adding replayability and depth to each level.
Thank you for joining us on this deep dive into the achievements of Lost Twins 2. We hope this glimpse behind the curtain has inspired you to see these challenges as more than just goals—they’re opportunities to explore, experiment, and experience the game in new and exciting ways.
Your feedback and support mean the world to us, and we can’t wait to hear about the creative solutions you discover while unlocking these achievements. Don’t forget to share your favorite moments with us on social media!
Until next time, happy puzzling and see you next week!
Hi guys! Hope you are enjoying our water devlog series. Water is a crucial element in the game, adding depth and interactivity to the game world. From creating immersive visuals to simulating realistic physics and effects, the implementation of water was a multi-faceted challenge that pushed our creativity and technical skills. In this devlog series, we’ve explored various aspects of how we brought water to life. The last two parts focused on character and interactive physics in water. Today, let’s dive into water visuals and the various effects that bring it to life.
https://youtu.be/s3SYq48etoM
Water Visuals and Shader Implementation
Water in Lost Twins 2 is generally cuboid in shape, whether it’s in a tank or sometimes suspended in the air. To achieve this, we added planes on five sides of the cuboid, excluding the back plane. We created a custom water shader with parameters like tint, specular highlights, and most importantly, distorted refraction—a key element in making it feel like water.
The front plane, positioned close to the camera, distorts everything behind it, including characters, interactables, and the environment. This distortion is achieved using a normal map integrated into the material. The distortion effect is dynamic, influenced by a noise factor that changes over time.
Although all five planes use the same shader, their materials have slightly tweaked parameters to enhance the overall look and feel. For instance, the side, top, bottom, and front planes each have unique material settings to ensure visual consistency and immersion.
Character Interaction
When a character or interactable enters the water, we simulate bubbles, foam, and turbulence using spritesheet effects. We utilize two distinct spritesheets: one for the water surface reaction and another for underwater turbulence.
The effects dynamically adjust based on the object’s velocity, particularly in the Y-axis. For example, objects dropped from a greater height create more pronounced turbulence before buoyancy takes over. The FX scale and movement adapt to the object’s behavior, adding a sense of realism.
While we initially experimented with Unity’s particle system, it didn’t achieve the desired visual quality. Ultimately, we opted for custom spritesheets to better match the aesthetic we envisioned.
A similar approach was taken for when characters climb out of the water. We used a different spritesheet to simulate water splashing onto the character and surrounding environment. This effect adds a finishing touch, enhancing the interaction’s believability.
The Water Wall
Another unique feature is the “water wall,” which characters can pass through while still containing water when objects are thrown into it. Initially, we tried creating the wall using two parallel planes with a 0.2-unit distance between them, adding front and top planes for thickness. However, for optimization, we simplified the design to a single side plane. Despite this reduction, the addition of front and top planes creates the illusion of thickness, maintaining the desired visual effect.
Thanks for sticking with us through this deep dive into water implementation! We hope you enjoyed learning about the techniques and creativity that went into making water a key feature in the game. See you next time!
Hi again! In our last devlog, we tackled the intricacies of character physics in water, exploring how buoyancy and fluid dynamics affect movement. This time, we’re taking it a step further by diving into the interactions between characters and in-game objects submerged in water. From floating boxes to sinking boulders, we’ll walk you through the mechanics behind how these objects behave when they enter the water, and how we’ve enhanced their physics to create a more immersive and dynamic experience. Let’s jump in!
These objects already have rigidbodies, colliders, and ground physics implemented, so adding buoyancy to them was the logical next step. Just like the characters, we added buoyancy forces to make these objects behave more naturally when submerged. The boulder, being denser, sinks slowly compared to how it behaves in air, while the box rises to the surface at a steady pace.
Floating Box Physics
The floating box required a few extra tweaks to make it feel more natural. To achieve a gentle wobble when the box floats at the water’s surface, we added a slight variation to the buoyancy force. Initially, the box rises and falls more noticeably when it first reaches the surface, as the buoyancy force gradually decreases and stabilizes. As the forces of gravity and buoyancy find a balance, the box settles, but we continuously introduce slight fluctuations in the FixedUpdate() to maintain a subtle wobble effect.
Additionally, we had to account for when a character lands on top of the box. Since all our physics are custom, we applied a small downward impulse when the character jumps onto the box. This decreases the buoyancy just enough to submerge the box slightly more than when the character is not on it. To add a bit of realism, we also introduced a small torque force. The torque is based on the character’s X position relative to the box’s center, causing the box to rotate toward the character’s landing position. If the character lands too far to the side, the box rotates by up to 90 degrees, eventually submerging the player if they fall off.
To ensure the box remains upright in the water, we applied a lerp function to rotate the box back to the nearest 90-degree angle relative to the water’s surface.
Pushing Boxes Underwater
When the character pushes a box underwater, we use the OnCollisionEnter() function to detect when the player collides with the box. If the player presses any directional key, force is applied to the box in that direction. Additionally, it switches the character’s animation from normal swimming to a “pushing box” animation to reflect this action.
Unstucking Boxes and Boulders
Sometimes, the box or boulder can get stuck in corners between a wall and a roof. When this happens, we added an extra layer of logic: when the character presses the up key while stuck in a corner, an additional force is applied in the opposite direction of the wall to free the object. This ensures the box or boulder can escape these tight spots and continue interacting with the character.
In the next part of this water series, we’ll be covering how we implemented some of the special water-based effects for both characters and interactable objects. Stay tuned for more!
Hi guys! Water is finally here! Adding it to our game wasn’t just about making it look cool—it completely transformed how the world and the player interact. From realistic buoyancy to swimming mechanics, creating water physics has been both a technical challenge and a rewarding experience. In this devlog, we’ll take you behind the scenes to show how we implemented character physics in water, tackled unexpected hurdles, and made swimming feel natural and fun. Let’s dive in!
Custom Physics for the Player: In our game, we’ve built custom physics for all player interactions. While the character uses Unity’s Rigidbody and CapsuleCollider, there’s no gravity by default. Movement is handled manually in the Update() function using boxcasts to determine accurate X and Y positions. With water, we had to extend this custom approach.
Detecting Water Interaction: To switch between normal platforming and water physics, we added four child transforms to each water area to define its bounds. These allow us to detect when the player enters or exits water. Once in water, the physics shift. A buoyancy force is introduced alongside gravity. For example:
If the player enters from above, they sink initially until buoyancy kicks in, eventually bringing them back up to the surface.
For special water areas (like those suspended in air by magical force fields), the player can enter from any direction, but the buoyancy-gravity interaction still ensures a natural flow.
Swimming Mechanics: When the player provides input (using arrow keys), the dynamics change: Buoyancy and gravity are temporarily disabled, and the player accelerates in the direction of input. Velocity is clamped to avoid unnatural speeds, creating a deliberate swimming motion. Additionally, the character’s head rotates to align with the direction of movement, enhancing immersion and giving the swimming motion a natural feel.
Handling Physics in FixedUpdate: Unlike ground movement, which is processed in Update(), water movement is handled in FixedUpdate() for better collision accuracy. Unity’s physics engine takes over here, ensuring the player is stopped by obstacles like walls or floating debris.
However, this introduced an unexpected issue: the camera became jerky since it was still updating in Update(). To fix this, the CameraController now dynamically switches to FixedUpdate() when the player enters water, providing smooth tracking.
What’s Next? This was just the foundation for water physics. In the next devlog, we’ll explore:
Interactions with objects in water, like floating boxes and sinking boulders. The FX that make water feel alive, from ripples to splashes when the player interacts with it. Thanks for reading, and as always, feel free to share your thoughts and feedback. Stay tuned for more! 😊